We use cookies to make your experience better. To comply with the new e-Privacy directive, we need to ask for your consent to set the cookies. Learn more.
Cheap Joe’s Art Stuff Art Blog
Tips, Tricks, Thoughts, and inspiration from across the art spectrum.
How to Make Resin Art: It's easier than you think!

Amazing Clear Cast Resin is a fun, experimental, and aesthetically pleasing medium that’s gaining popularity due to its abstract nature and its ability to mix with a multitude of pigments and mediums. Resin has a glass-like finish once it cures and effortlessly pairs form with functionality, resulting in an endless amount of artistic possibilities. Resin is not only great for the seasoned artist, but for beginners and crafters alike.
Here at Cheap Joe’s Art Stuff, we got a chance to try our hand at playing with resin through one of our own artists from the Call Center, Jessica aka The Sassy Artist, who showed us how to make our own unique piece of resin art. Boy did we have fun! Here’s a step-by-step on how to make your own resin art:
You Will Need:
- Alumilite Amazing Clear Cast Part A and Part B
- Fluid, High Flow, and/or Soft Body Acrylics. Jessica likes to use Chroma Jo Sonja Artists’ Colors because they mix so well with the resin.
- Jacquard Pearl Ex Pigments if you want some sparkle.
- Disposable cups. The clear ones with lines make for easy measuring.
- Disposable mini cups for an easy way to separate resin into batches to mix in colors.
- Popsicle sticks or something else to stir the resin and pigments.
- Some sort of ground such as canvas, wood panel, tile, etc.
- A heat gun or blow torch to help get bubbles out of the resin once it’s poured.
Prepare:
Lay down a drop cloth or newspapers in a well-ventilated area with no flammable materials nearby. Use a respirator mask if instructions on the resin product you’re using recommend it. This process can get messy and sticky so you’ll want to use latex gloves or nitrile gloves which offer a stronger barrier against resin, and wear old clothes or an apron. Set up all your supplies and elevate your canvas or panel on cups or blocks so the resin can fall off the sides.
Step One:
Resin kits come in 2 parts: a resin and a catalyst. Mixing the 2 parts (labeled Part A and Part B) together in a 1:1 ratio activates the resin and allows it to begin to harden. Pour equal amounts of Part A and Part B into 2 separate disposable cups. Using cups with lines on the side makes it easy to measure. Or you can mark both cups at the same height and fill to that line.

Step Two:
Pour Part B into Part A and mix very well for up to 3 minutes. The resin will get cloudy before it becomes clear again.

Step Three:
Pour some resin into mini-cups for creating your different colors. Fill a cup for each color you want to use. Save some colorless resin aside.

Step Four:
Add your pigment of choice to each mini-cup and mix well. Start with just a few drops of pigment until you get the color you desire. Add no more than 1 tablespoon pigment per one 8 oz. cup of resin or curing time will be delayed.

Step Five:
Pour the colorless resin in a thin layer over the whole surface and spread it with a popsicle stick used on its side. This will help the colored resins spread more easily.

Step Six:
Next, pour your colored resins onto the resin-prepared ground.


Add more colors from your prepared color cups.

Here you can see the aqua colored resin has some Pearl Ex mica pigment mixed in for some shimmer.
Step Seven:
Use the heat gun or blow torch to make the colors flow and get out the trapped air bubbles. Careful not to hold the heat source in one place too long or the resin will start to boil and, if using a blow torch, catch fire. Always have a fire extinguisher handy if using a blow torch, just in case.

Jessica has no fear of the blowtorch!
Step Eight:
Tilt the ground or use a pallet knife to encourage color flow if you would like.

Use the heat gun or blow torch as many times as necessary to make the colors flow in a way that you like, and get to out the trapped air bubbles. It may take several passes with waiting in between to get the air bubbles to float up and out of the surface. Add more layers of color between heating the surface until you get the desired effect. You can even embed photographs, cut paper, drawings, and printed text in between layers.
Finishing up:
Let your resin art sit overnight to harden in a room that is at least 70 degrees. It will take up to 72 hrs to cure to a hard, non-sticky state. Dispose of resin waste materials properly, and never pour them down a drain or sewer system. Follow the manufacturer instructions for disposal which may involve you disposing them at your local hazardous materials collection center.
Enjoy your new art!

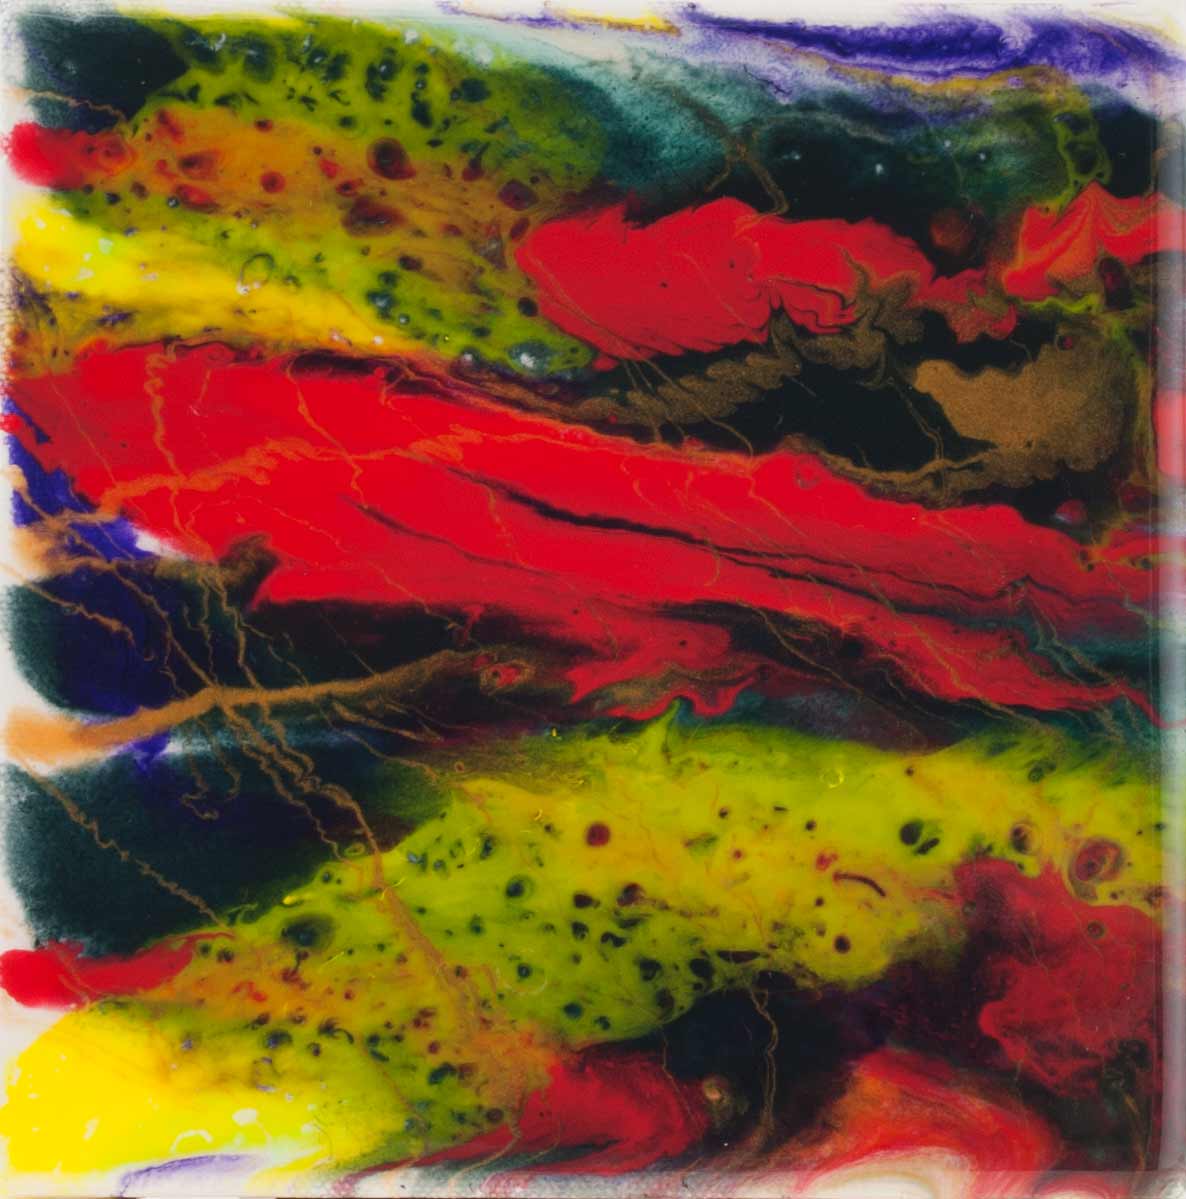
Jessica’s finished resin painting.
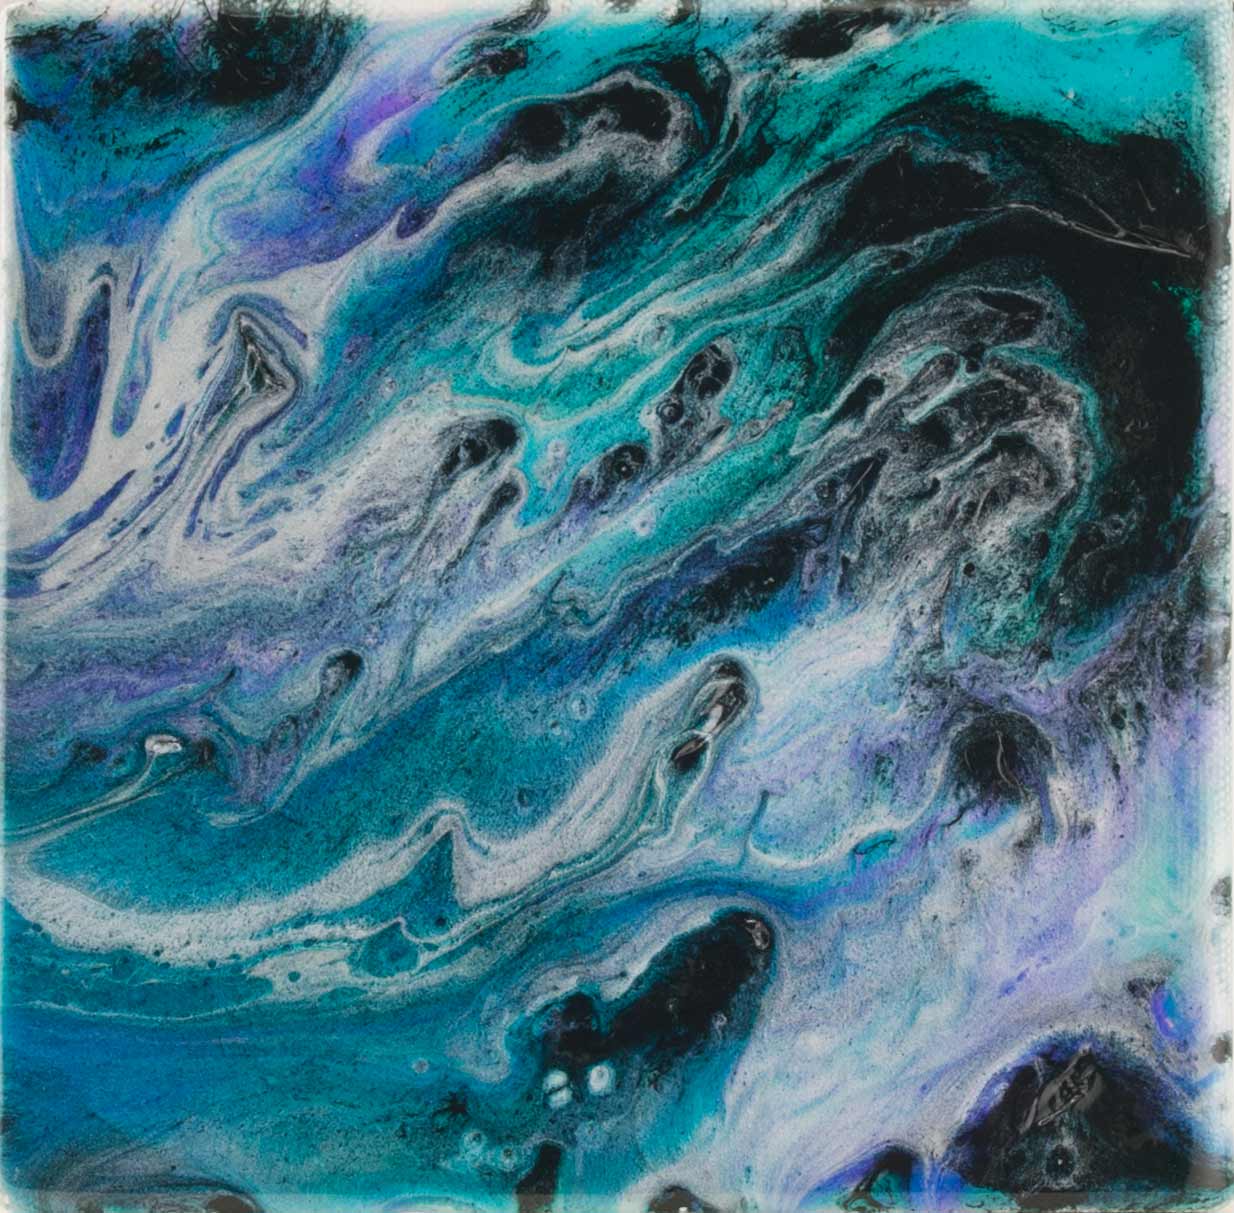
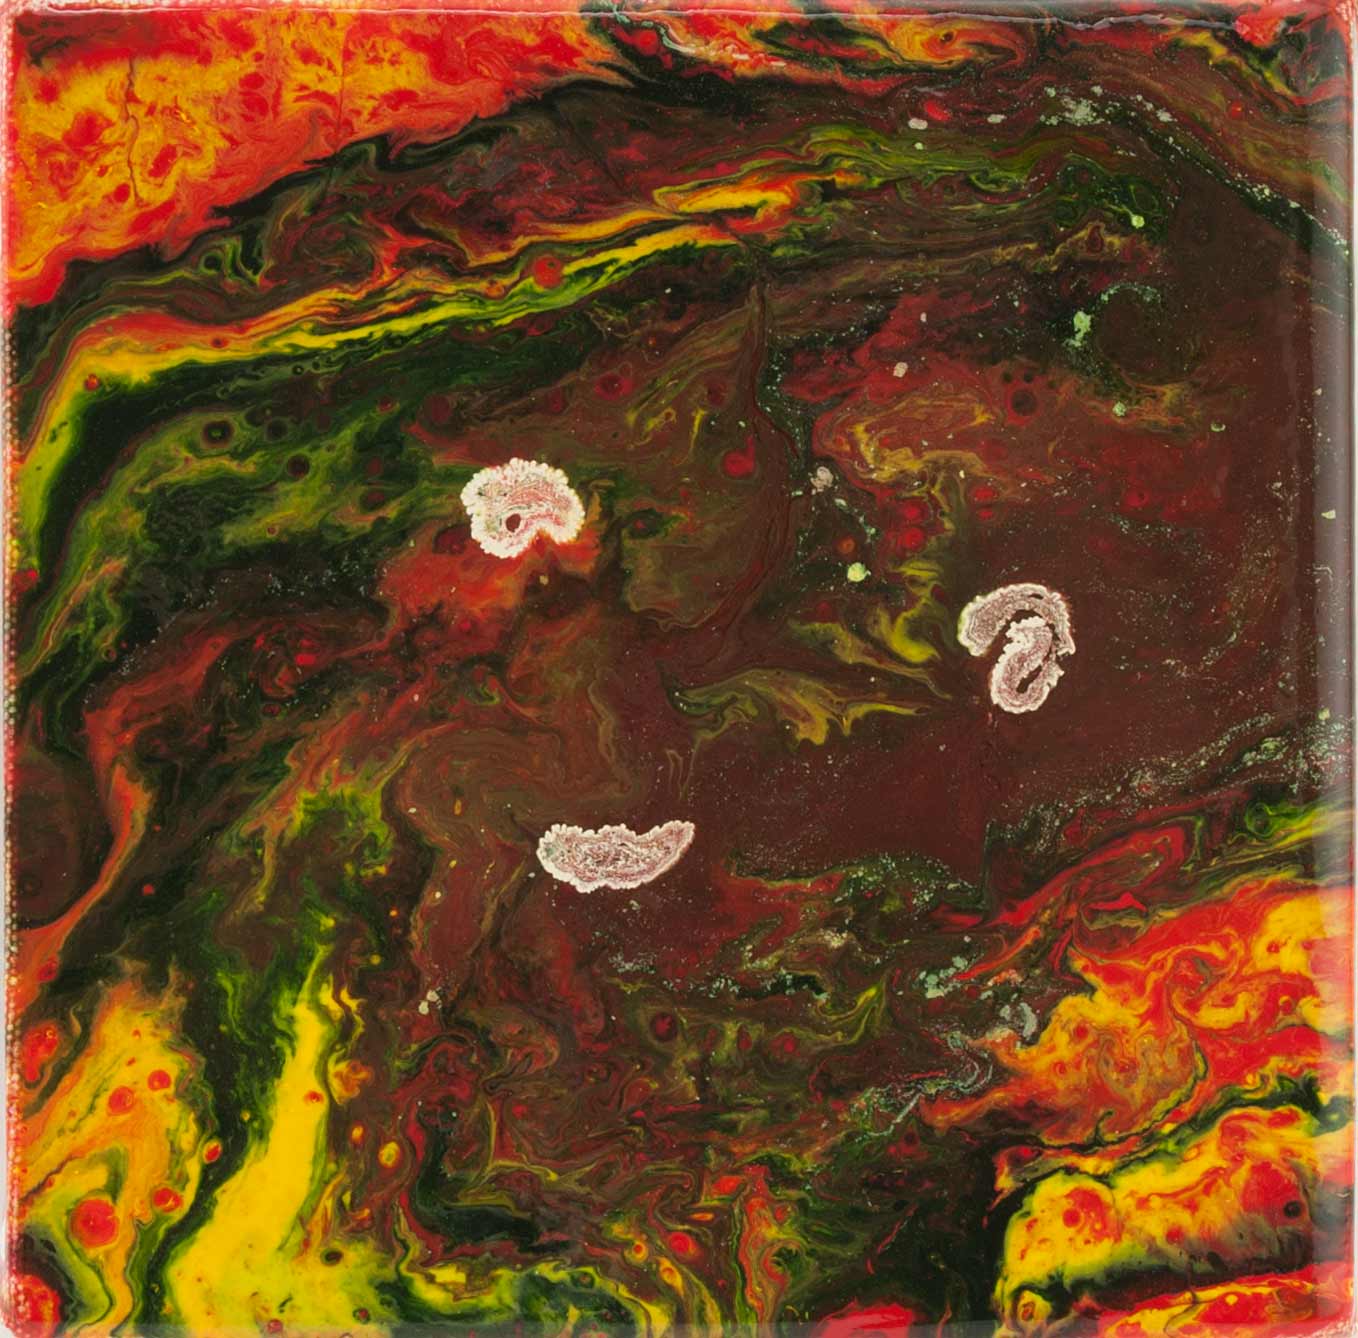
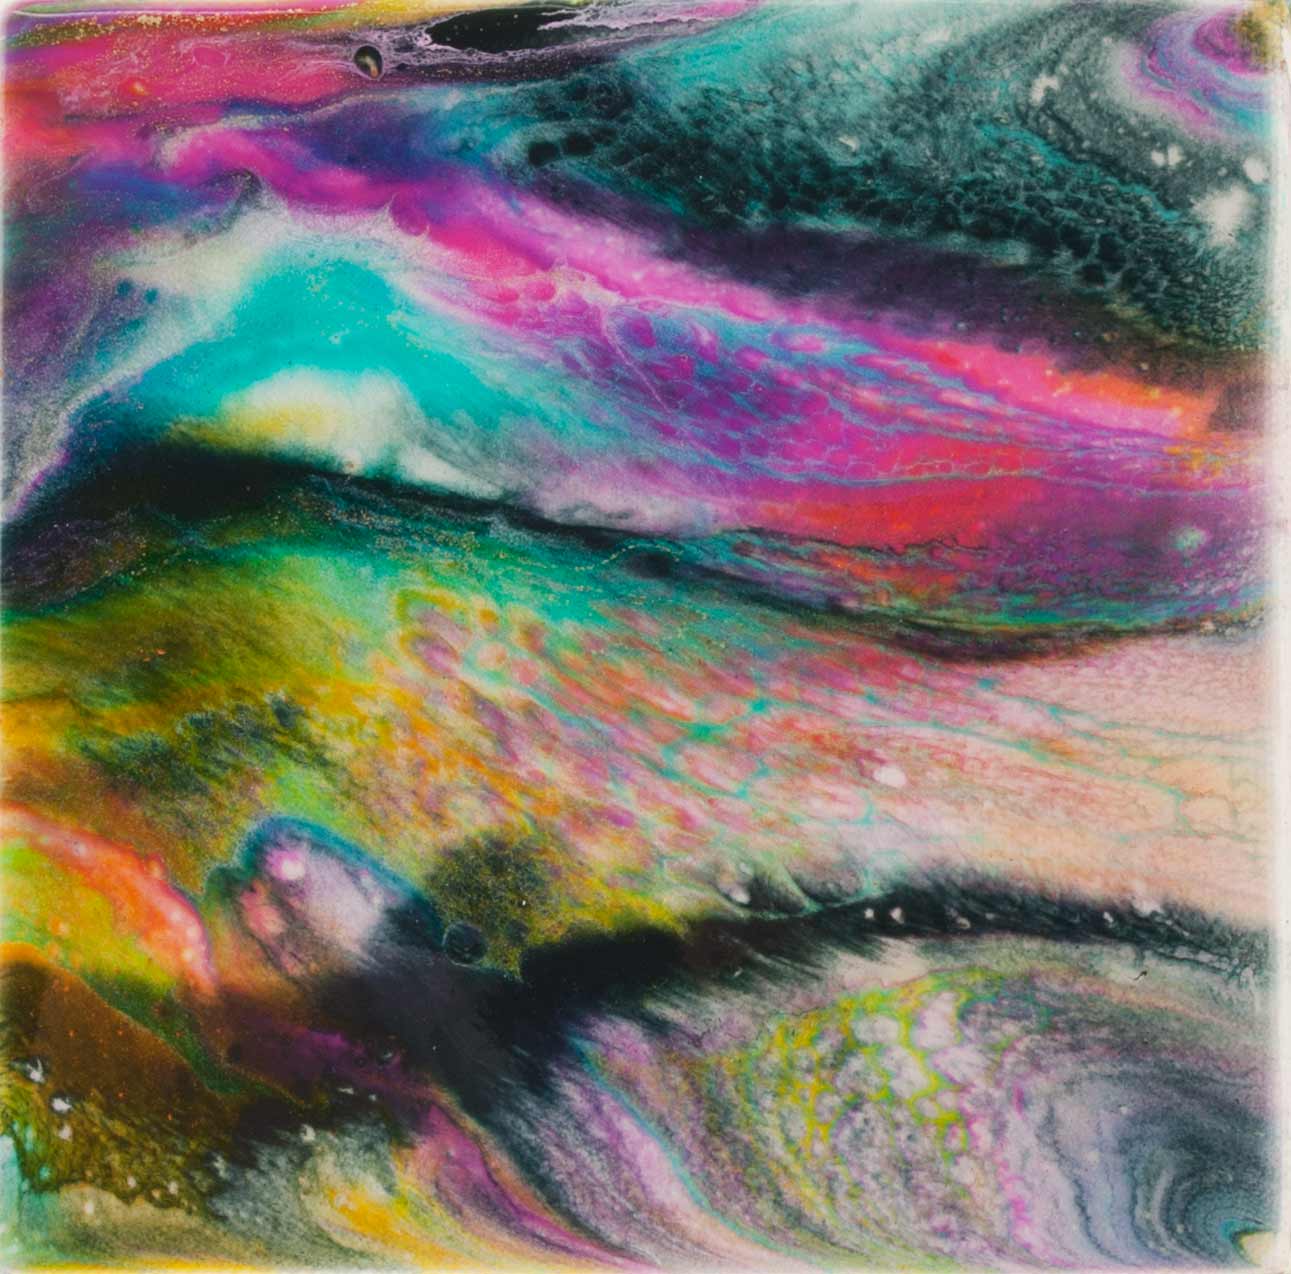
Here’s a gallery of the paintings we made on 6" x 6" canvas during Jessica’s demo:
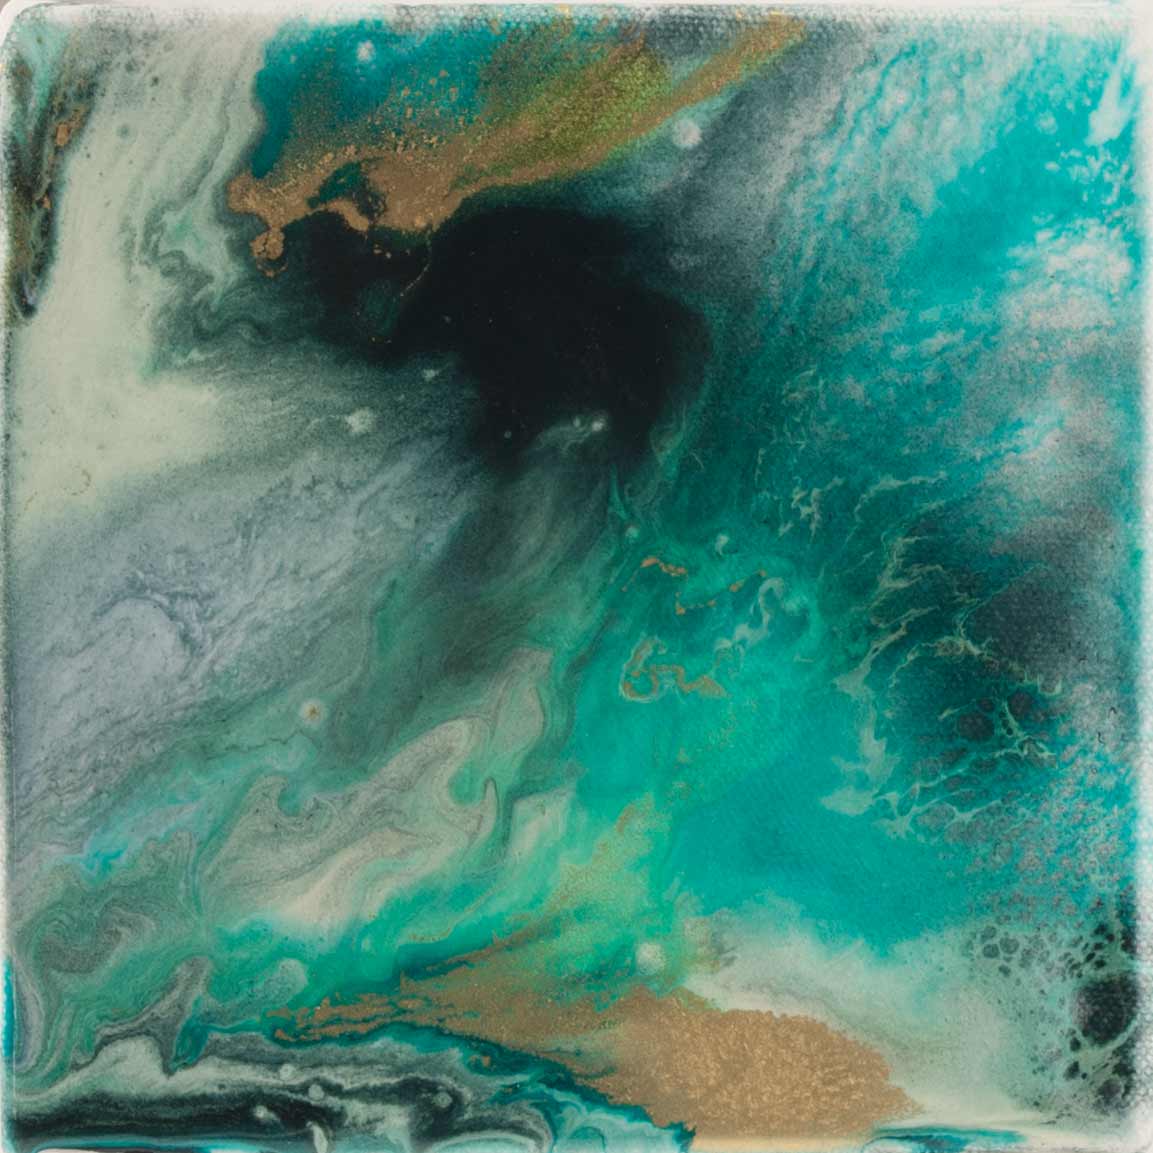
Amy from Production

Becky, our Receiving Manager in the warehouse
Christy, the Assistant Call Center Manager

We all made this one together
Hunter from the Call Center
Jessica from the Call Center, our guru
Marsha, the Call Center Manager

TJ from the Call Center
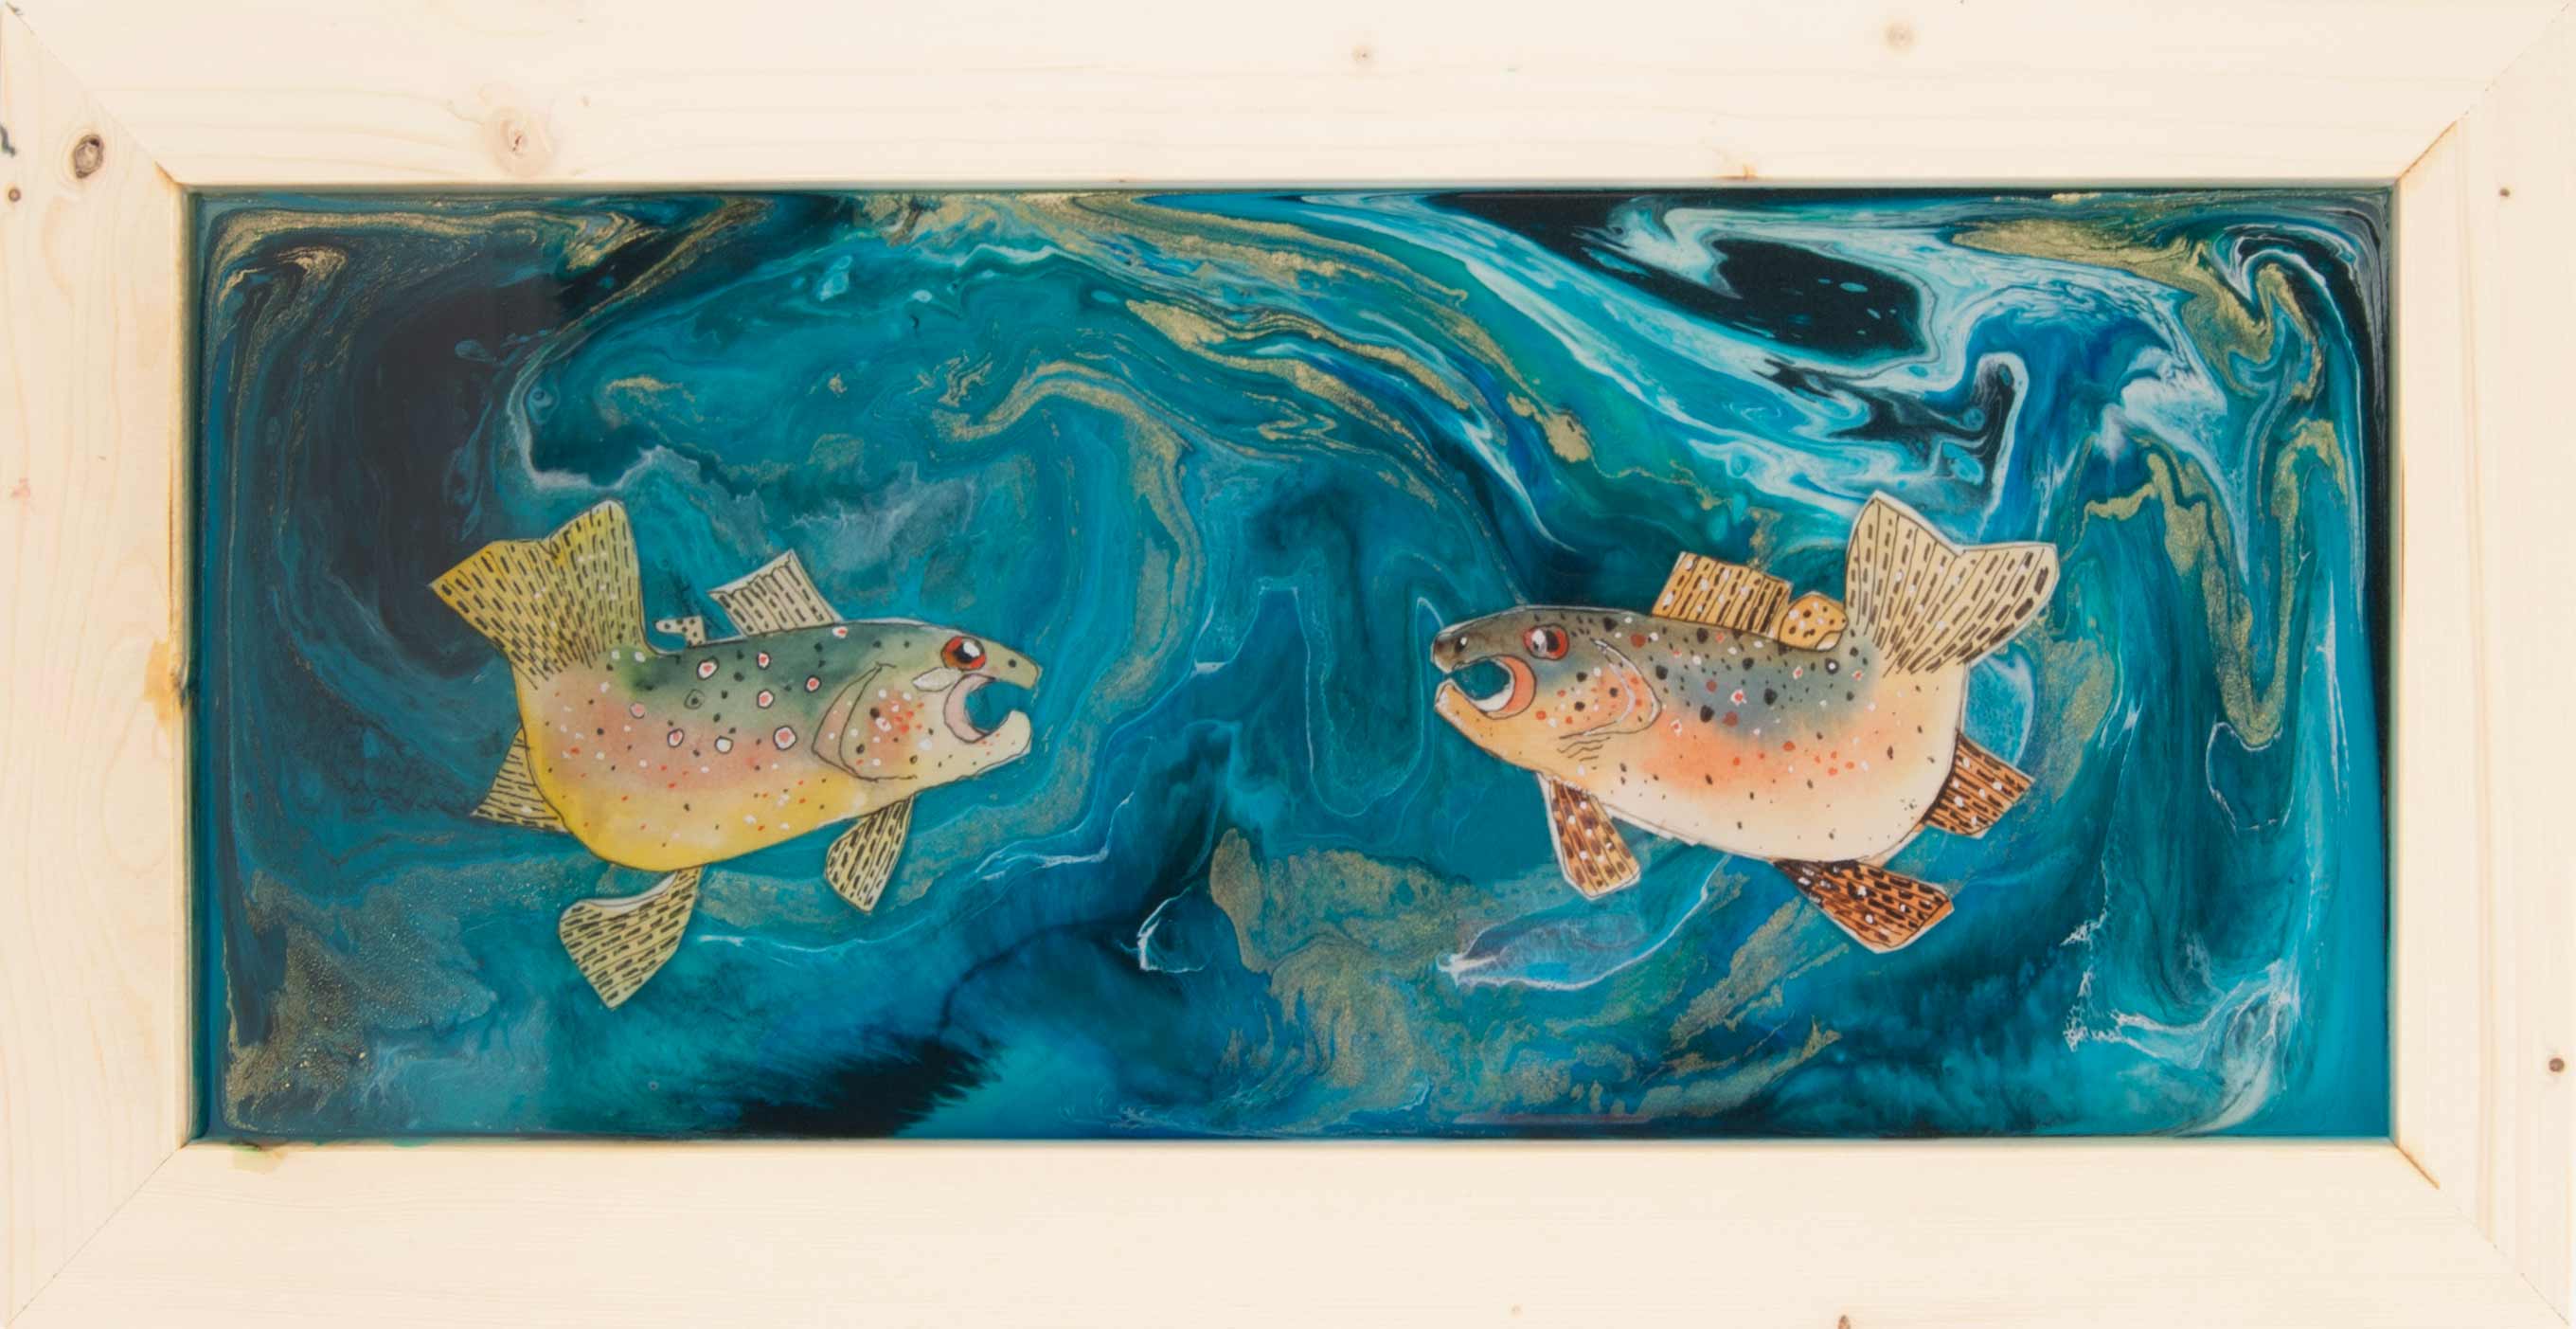
Cheap Joe Miller himself, who included some fish drawings in his resin layers.
Bonus:

Jessica makes jewelry out of the scraps of resin left over on her table. She’s a multi-talented creative and we’re so glad to have her!

Recent Posts


